
Eyebrow Shapes: A Flexible Guide to Styling Your Brows
Compare four eyebrow shapes, learn the front, arch and tail, and try small changes with makeup before tweezing. Includes tool choices and grooming precautions.
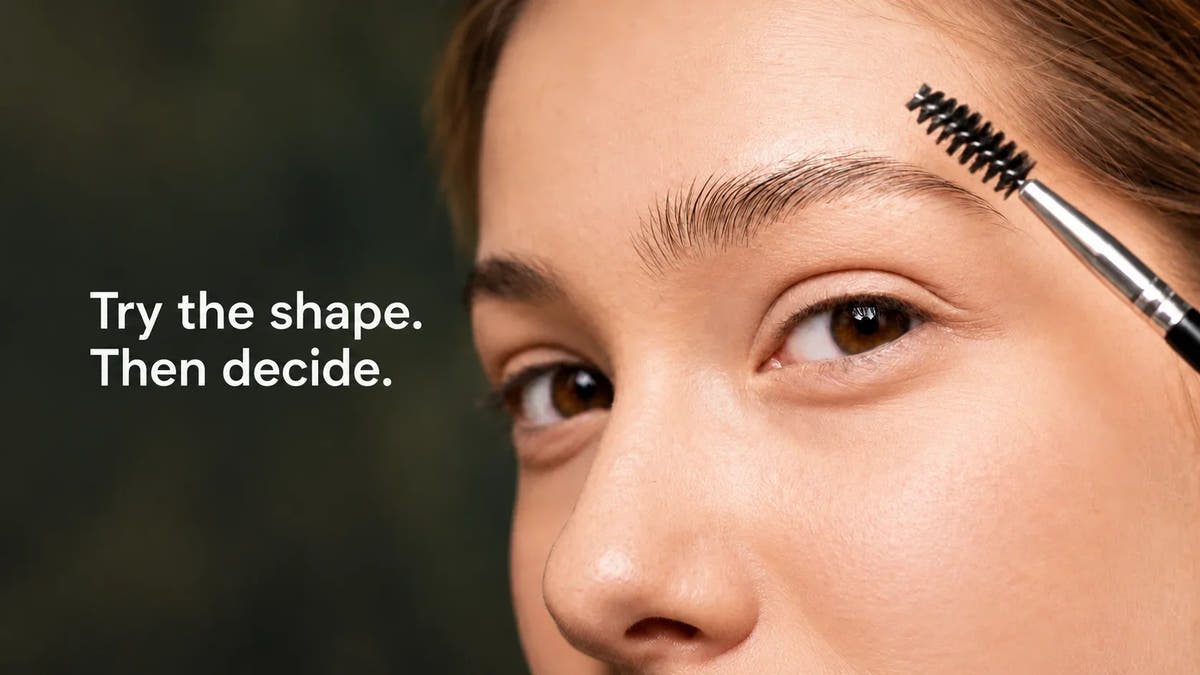
A few extra hairs removed at the arch can change a brow more than expected. Before reaching for tweezers, try the outline with makeup. You can judge the shape, soften it or wash it away.
Start with the brows you have. Identify the front, arch and tail, choose one small change, and check both brows from a normal distance. Face-shape charts can inspire a trial; your preferred result makes the decision.
Learn the landmarks and shape names
Three useful landmarks
Identify them on your own brow before choosing a change.
Four outlines to compare
Use the names to describe a preference, not to assign a face a required shape.
Straight
A mostly level outline with little rise.
Curved
A rounded sweep without a distinct corner.
Soft arch
A visible rise with a rounded change of direction.
Angled arch
A more defined turn near the peak.
Separate arch height, sharpness and hair direction
Height is how far the brow rises. Sharpness describes whether its turn is rounded or angular. Hair direction is how the individual hairs sit. A softly rounded arch can be high or low; brushing hairs upward changes texture without necessarily changing the underlying arch.
When showing a reference to a brow professional, name the part you like: “the soft front,” “the more defined tail,” or “the brushed-up texture.” This is more useful than asking them to copy a whole face.
A reversible brow trial you can do at home
- Set a baseline. Start with clean, dry brows and a clean spoolie. Brush gently in their natural direction, then look at both brows in even light.
- Choose one feature. Pick a sparse tail, a gap or a front edge you would like softer. Leave the rest familiar.
- Add a little colour. Make short, light strokes where needed, following the hair direction. Blend with the spoolie. [1] [2]
- Step back. Judge the whole face at conversation distance, with your usual makeup if worn. Avoid making every decision in a magnifying mirror.
- Compare another day. Photograph the result in the same light if helpful. Remove the makeup and try a small alternative before removing hair.
Two starting experiments: for a softer outline, diffuse the front and keep the arch edge less crisp. For more definition, keep the front light and add a little colour through the tail. These are styling options to compare, not rules about which face can wear which brow.
Match the tool to the change
- Pencil or fine-tip pen: useful for small hair-like strokes and specific gaps.
- Powder and an angled brush: useful for softly shading a sparse area.
- Brow gel: useful when you want hairs held in a direction; check its particular hold and use instructions.
- Spoolie: useful for brushing and softening excess colour.
Choose a shade close to your brow hair for a natural-looking fill, and start lightly. Benefit suggests matching the brow colour or choosing a lighter option if unsure. Check the effect in daylight before adding more. [1]
If one brow looks fuller
Try filling the sparser area first. Removing hair from the fuller brow to chase exact symmetry can create another problem to correct. Different hair patterns can still look balanced when you step back.
If the front looks blocky
Brush through and reduce the colour at that edge before adding more elsewhere. Leaving some visible hair texture can make a defined brow look less painted on. [1]
Decide about hair removal separately
If you choose to tweeze, begin with obvious strays and leave uncertain hairs in place. Stop and check both brows regularly. A major change to the arch or thickness is worth planning with a skilled professional.
Trimming is optional too. Avoid cutting straight across an entire brushed-up brow; if you cannot tell which individual ends need attention, pause and ask for help.
Before waxing, tell the practitioner about skin treatments. The AAD advises avoiding facial retinol and prescription retinoids for two to five days beforehand, and avoiding waxing during isotretinoin use or within six months afterward. Never wax sunburned or very sensitive skin. Ask your prescriber before changing a prescribed treatment. [4]
Keep the eye area safe
Use clean hands and tools, keep cosmetics personal, and choose products intended for the eye or brow area. Stop a product that irritates you. Avoid eye-area cosmetics while the skin is inflamed or an eye infection is present, and seek advice if irritation persists. [3]
Do not use ordinary hair dye to tint brows at home; FDA advises against home eyebrow and eyelash dyeing. New patchy hair loss or persistent skin changes need professional assessment, rather than repeated reshaping. [5]
Keep a note of what worked
Save the useful details: the shade, where you added colour, how much you blended, and whether you needed hold. You will have a repeatable styling choice instead of a new shape to chase every morning.
Sources and further reading
- Benefit Cosmetics: Filling brows naturally
- Anastasia Beverly Hills: Styling sparse brows
- FDA: Eye cosmetic safety
- AAD: Hair removal and waxing precautions
- FDA: Using cosmetics safely
Cover photograph: Shiny Diamond / Pexels. Composition adapted with AI assistance. Illustrative image; no diagnosis or treatment result is depicted.
Written and reviewed by the Dirran Organic editorial team. Updated 2 November 2026. General education; individual skin or eye conditions may need professional assessment.

Makeup and Grooming
Choosing Organic Makeup: Ingredients, Labels, and Use
Choose organic makeup by shade, finish, formula and intended use. Use a first-wear checklist and sensible storage habits to assess your choice.

Skincare Basics
How Cleansers Work: Surfactants, Skin Comfort, and Your Routine
See how surfactants lift oily residue, then choose a cleansing format and technique that suit what you wear and leave your skin comfortable.

Eye Care
Gentle Eye-Area Care: Moisture, Fine Lines, and Product Choices
Separate eye-area dryness, shadows, puffiness and irritation. Set realistic expectations, follow application directions and compare changes fairly.
Leave a comment+